The ultimate guide to most beautiful Icelandic hot springs. How to find them, what kind of car do you need, our experience and many tips!
Want to know about ALL hot springs? We wrote a unique List of All Hot Springs that contains 50+ Icelandic hot pots!
Contents
9. REYKJAFJARDARLAUG
Reykjafjarðarlaug hot pool
Summary
Distance from car park: 2 minutes
Time spent at: 30-45 minutes
Worth visiting even with bad weather: yes
Physical condition needed: little
Interesting index: 2 – great (1-amazing, 2-great, 3-nice)
Reykjafjardarlaug is a nice hot spring in the middle of nowhere, right next to the Road 63 in Westfjords.
How to get to Reykjafjardarlaug
In summer, Reykjafjardarlaug is accessible by any 2wd car. Although the road 63 leading there is zig-zag and secluded, it should be alright to reach with a bit of careful driving. Read about how we chose our car. Or just get free discounts for your Icelandic car rental.
Our experience with Reykjafjardarlaug
We made just a quick stop at the hot spring because we had already visited several of them at that time and headed elsewhere on that day. Reykjafjardarlaug is nevertheless nice and pleasant, just maybe not that exceptional compared to some other ones in Iceland. As someone had put it: “3 out of 5 Icelandic stars, i.e. 5 out of 5 anywhere else in the world”.
Tips about Reykjafjardarlaug
There are actually 2 places for bathing in here. First one is the man-made artificial pool with regulated water temperature. The second one is the actual source of the hot water itself – a wild hot spring with varying temperature (usually much hotter). This secret Reykjafjardarlaug hot spring lies nearby.
Bathing is free of charge, we didn’t notice any donation box, but there may be one.
8. HVERAVELLIR
The only Hveravellir hot spring for bathing. Image: courtesy of hiticeland.com
Summary
Distance from car park: 2 minutes (hot spring)
Time spent at: 1 hour
Worth visiting even with bad weather: yes
Physical condition needed: little
Interesting index: 3 – nice (1-amazing, 2-great, 3-nice)
Hveravellir is a hot spring area in the middle of F35 road with one nice free hot spring available for bathing.
How to get to Hveravellir
You need a 4wd car to access the Hveravellir area. The road F35 (Kjalvegur) is not hard to drive on, though. You may rent basically any 4wd car to drive it. Read about how we chose our car. Or just get free discounts for your Icelandic car rental.
Once you leave F35 towards Hveravellir, it’s just a short, easy drive and you will soon find a parking lot in front of a small restaurant.

Our experience with Hveravellir
Almost next to the parking lot lies a nice, public, free hot spring.
Since it is so close to the car park, there’s a high chance someone will be inside most of the time. Nevertheless, the hot spring is big enough and water is pleasantly hot, with some 38°C (according to my professional assessment). On the other hand, air temperature felt really cold, something like 7-8°C even in the middle of August. So again – be prepared for that – you are in the middle of Iceland, in highlands.
I guess my expectations for Hveravellir were too big (read further to find out why). When planning our trip, I had read that there are “several hot springs in the Hveravellir area”. Moreover, seeing pictures like this had instantly made me a Hveravellir enthusiast. Well, the reality was a bit different.
Tips about Hveravellir
There were supposed to be “several hot springs” so let’s go find the other ones, we told ourselves. Hopefully with no people inside.
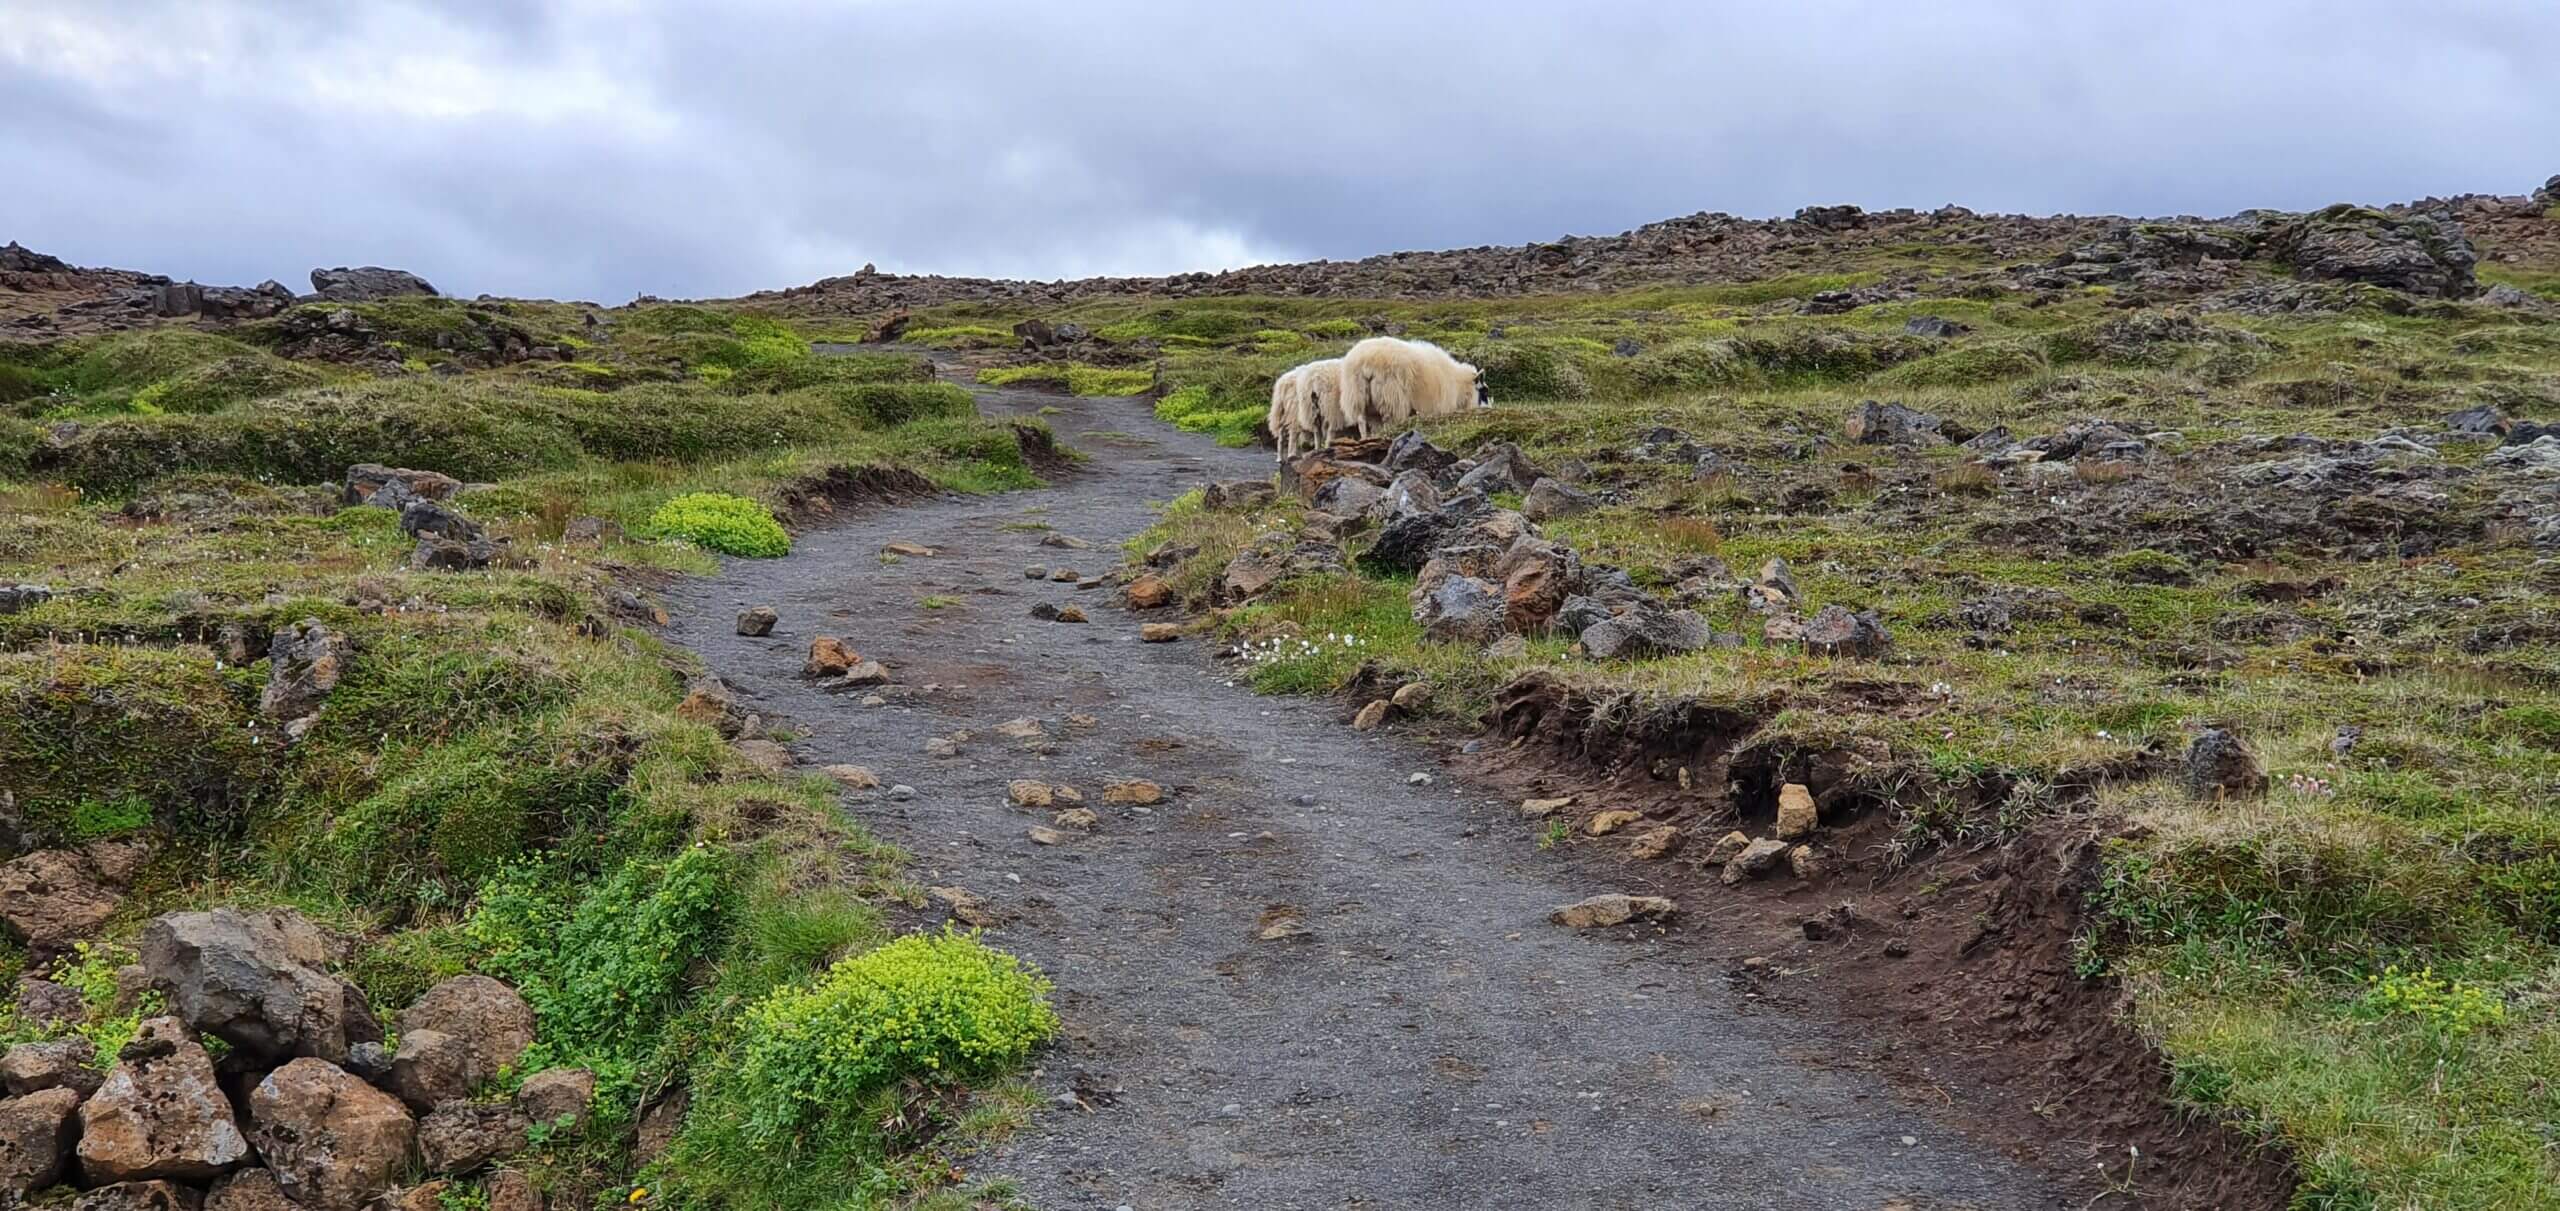
Sheep around Hveravellir trail
We were hiking for 1 hour around the entire area, but we haven’t found any hot springs, other than the main one near the parking lot. We don’t have anything against walking, but the entire area was pretty uneventful, with nothing interesting to observe. We said hello to several sheep along the way, but even those didn’t know where the other hot springs were.
We finally also asked the local at the restaurant who just confirmed our realization by saying: “you can bath only in this hot spring, next to the car park. There may be also some other hot springs further away, but you shouldn’t bath there”.
7. LYSUHOLSLAUG

Lýsuhólslaug hot spring
Summary
Distance from car park: 0 minutes
Time spent at: 0,5 to 2 hours
Worth visiting even with bad weather: yes
Physical condition needed: little
Interesting index: 2 – great (1-amazing, 2-great, 3-nice)
Lysuholslaug is a nice, man-made and man-maintained hot spring, hidden in the southern part of Snaefellsnes peninsula.
How to get to Lysuholslaug
Lysuholslaug is easily accessible by any 2wd car. Read about how we chose our car. Or just get free discounts for your Icelandic car rental.
Don’t get fooled by Google that you have to walk to Lysuholslaug. You don’t have to. There’s a road leading right next to the hot spring area. It’s just not marked on the Google Maps (see below).
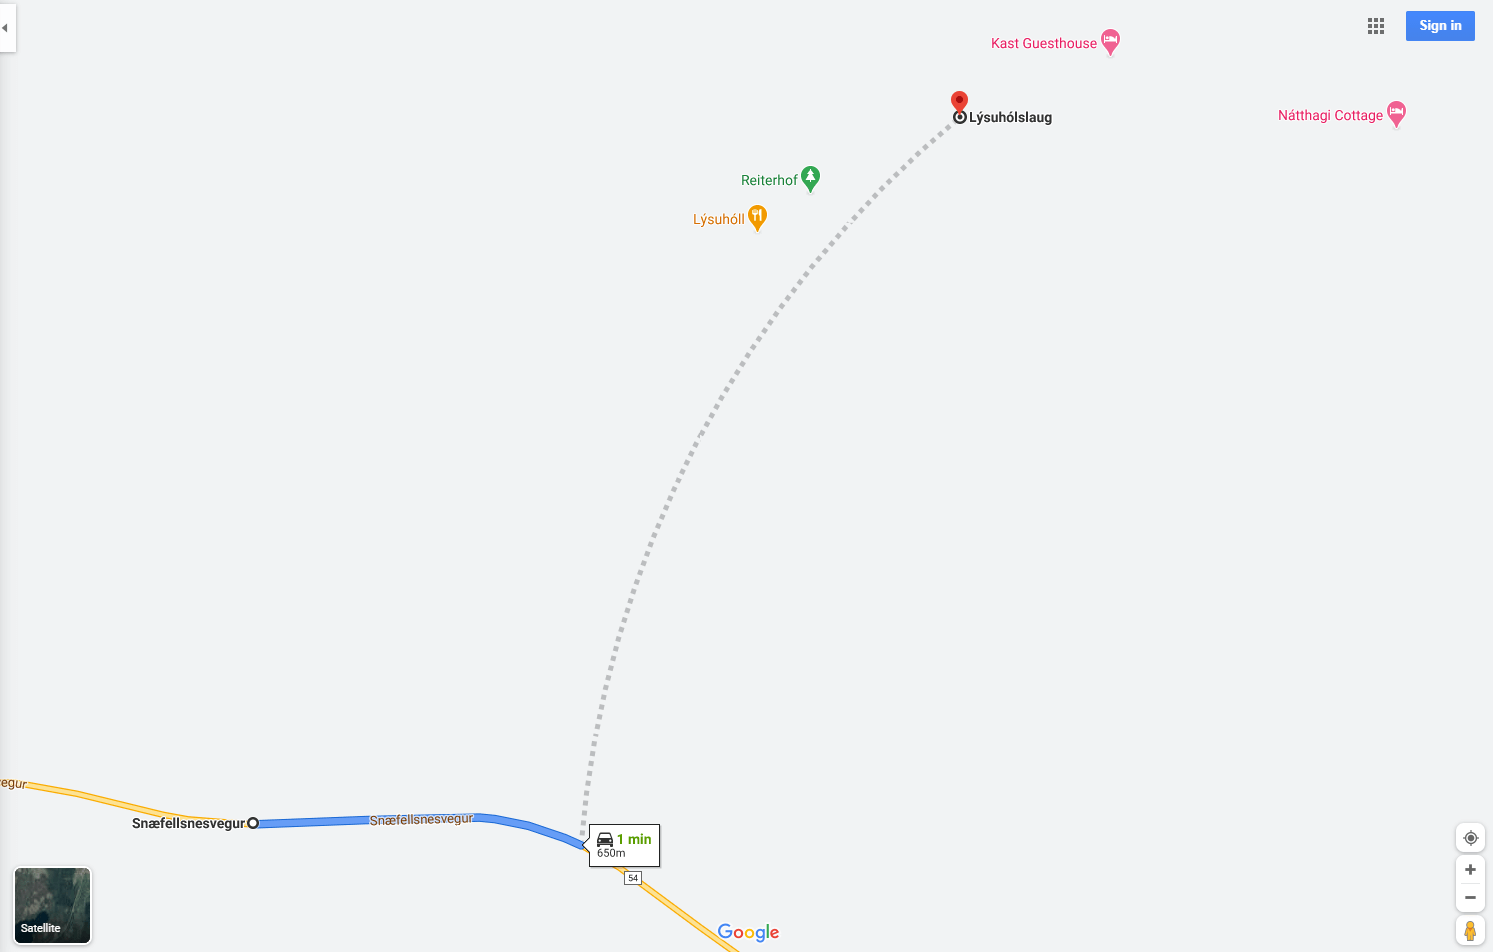
Lýsuhólslaug hot spring as indicated on Google Maps. The road to it does exist, though.
Our experience with Lysuholslaug
Bathing in Lysuholslaug is definitely a very pleasant activity when the weather sucks. We really enjoyed it, despite the place not being anywhere near as picturesque as Hrunalaug or some other “wilder” hot springs. So, it depends on your preference, weather (and who knows what else), whether it’s worth making a detour for you. For us it definitely was.
Other than us, there was just one other couple using the pools at the time of our visit. We guess the main reason was, once again, Covid pandemic, rather than the place being unpopular.
Tips about Lysuholslaug
There are 2 small hot tubes and 1 bigger pool. All of them are the so-called “sea-weed baths”. That means, they look to be dirty, because of the sea-weeds everywhere. The ground and walls of the pool are also slippery, because of sea-weeds.
The big pool has water with the temperature of around 32°C (according to my professional assessment, i.e. read “just guessing”). Water in the small hot tubes is much hotter, around 36-38°C in the first of them and around 39-41°C in the hottest one. It’s definitely not recommended to stay in the hottest one for too long.
The hot spring is a paid one – 1000ISK/person, i.e. some 6-7eur.
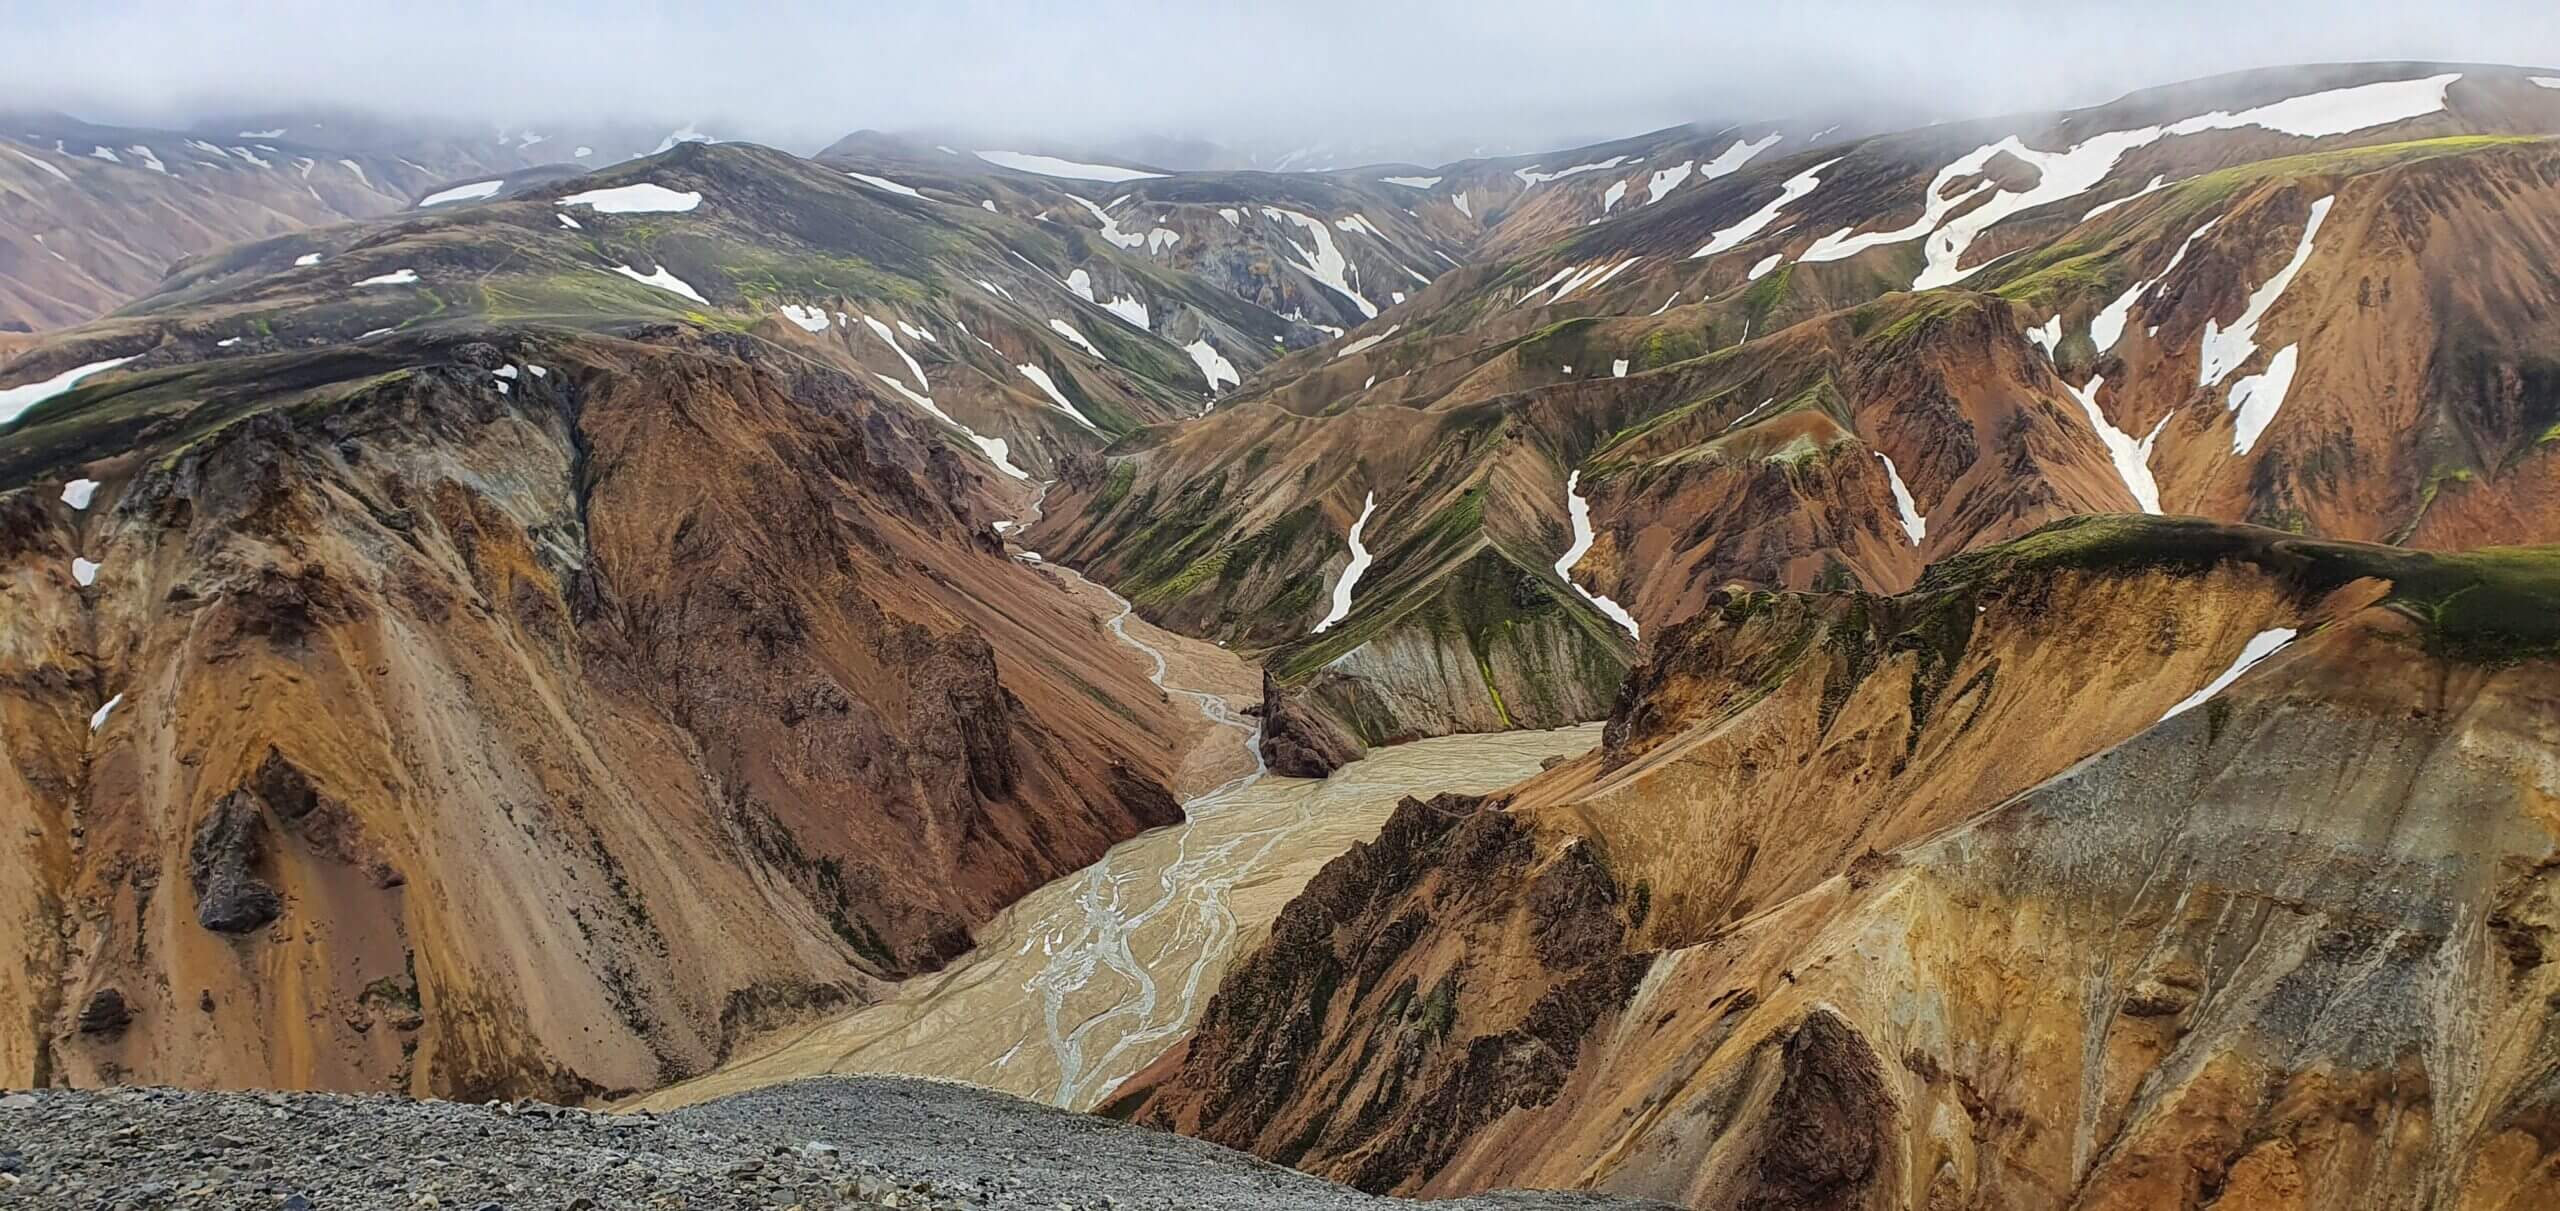
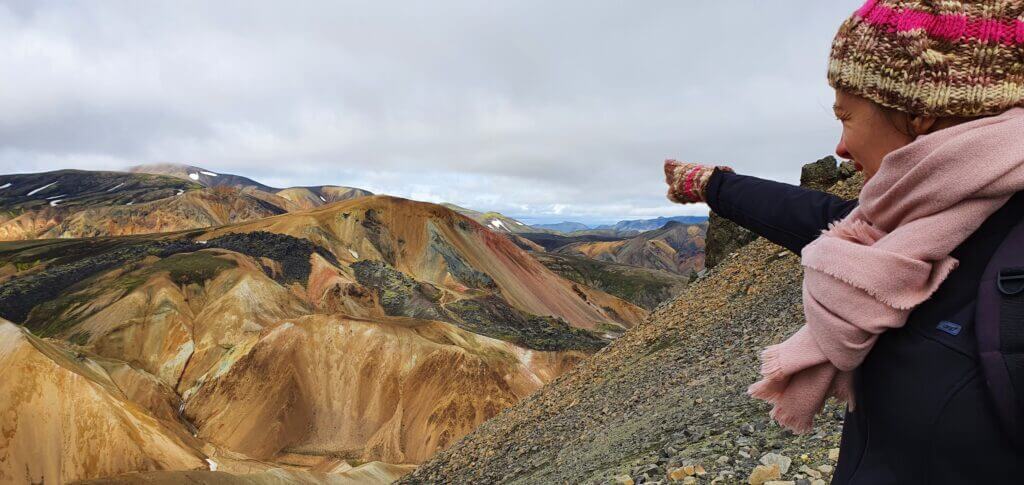
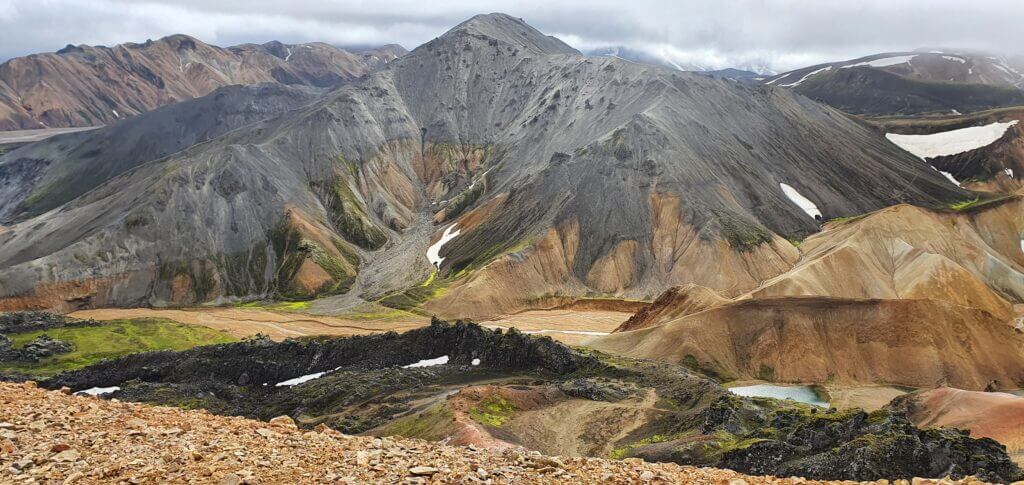
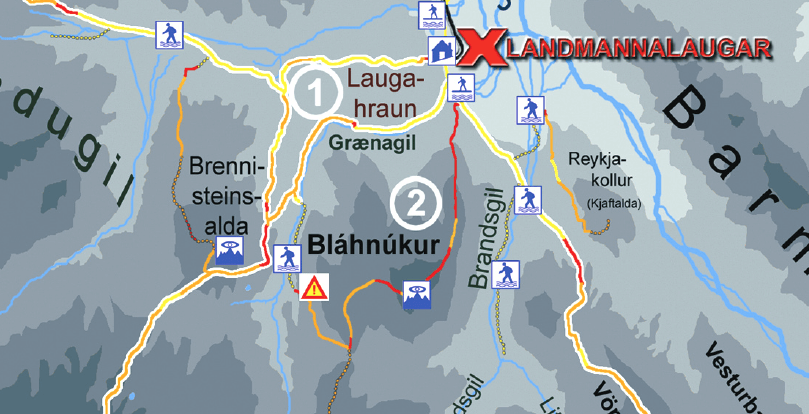
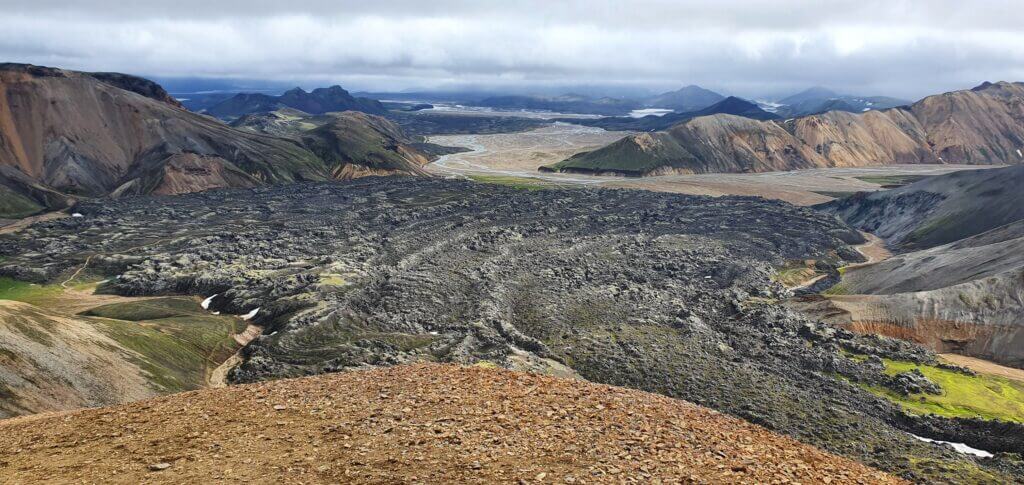
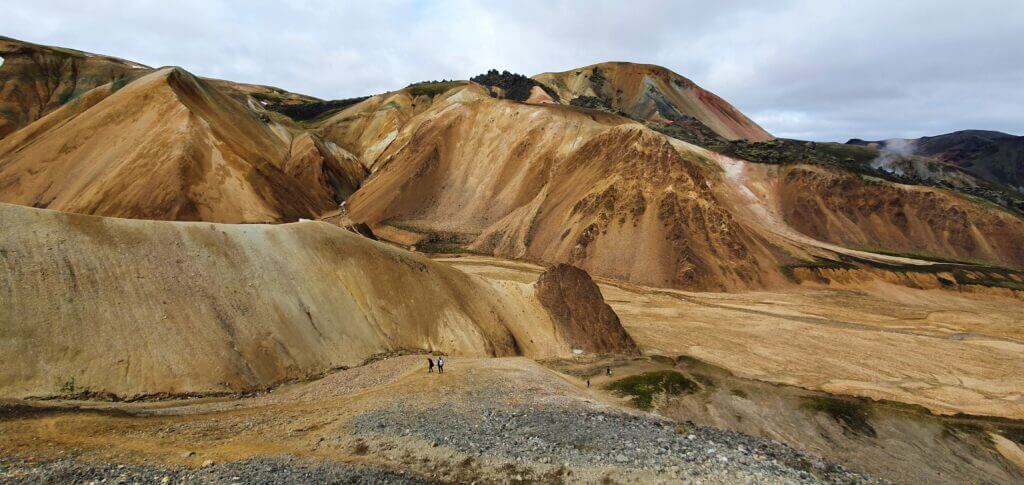
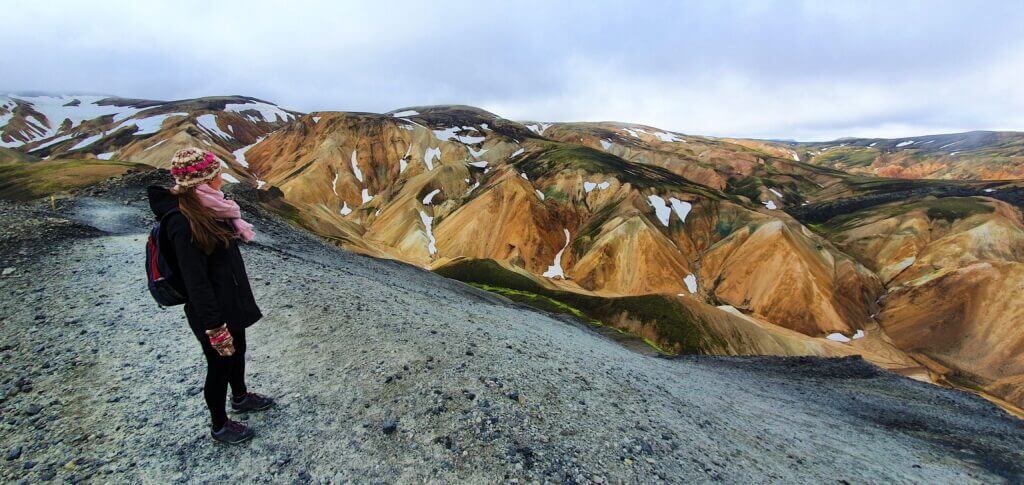
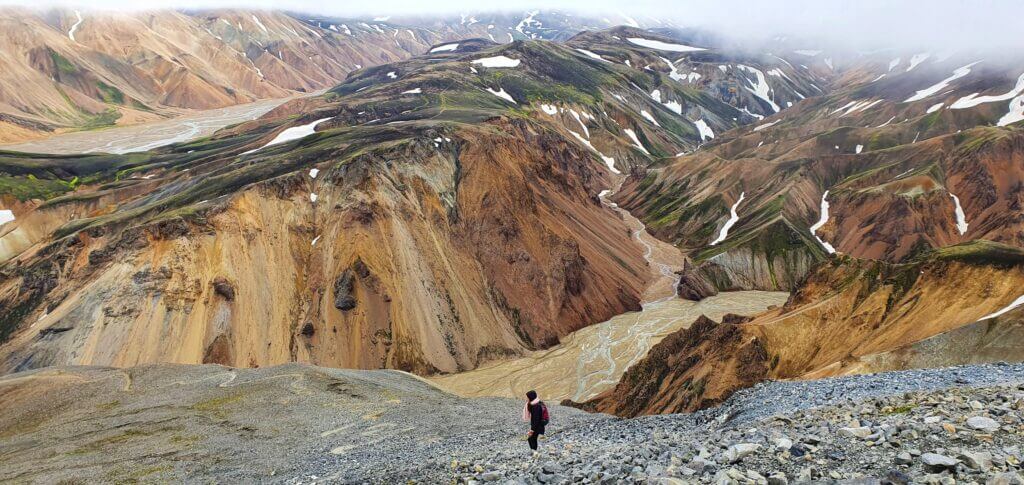
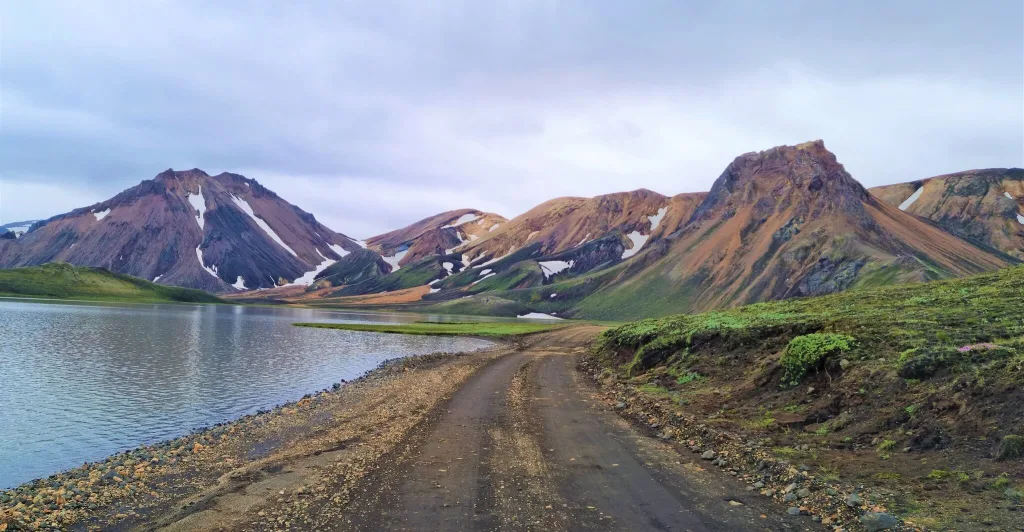
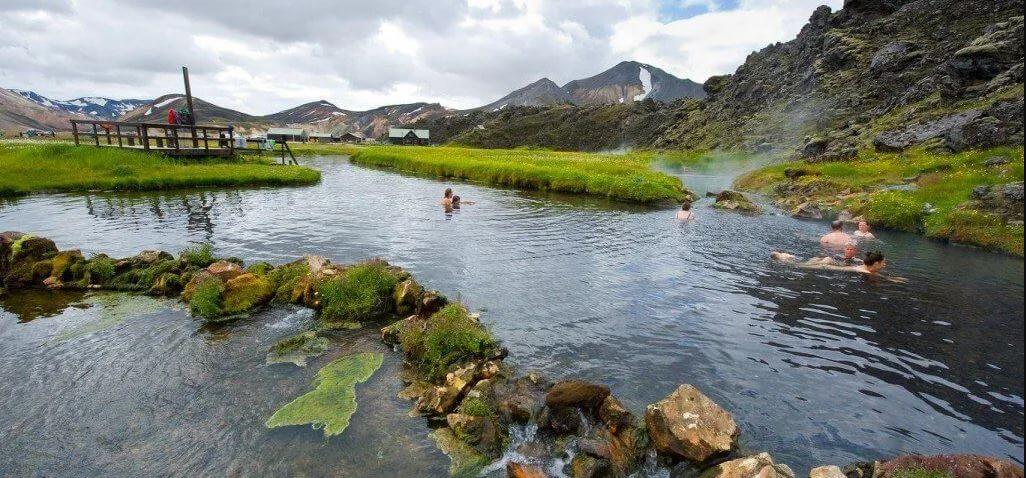
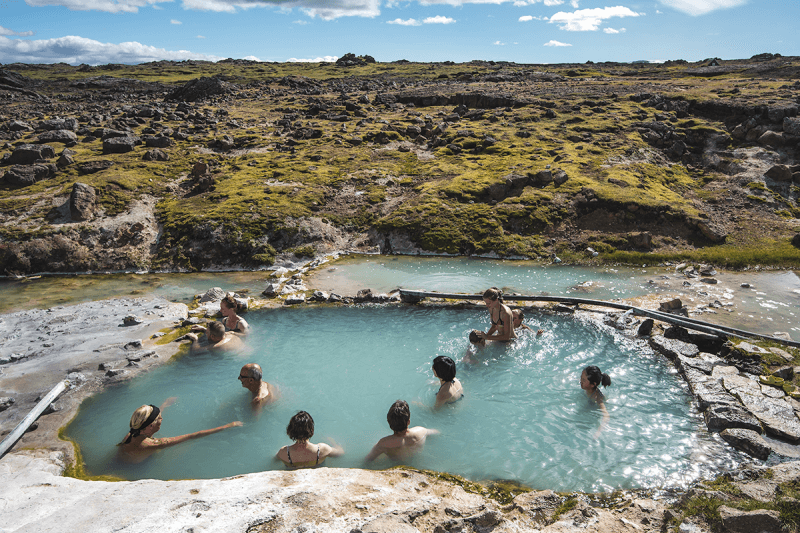
6. LANDMANNALAUGAR
Landmannalaugar hot spring. Picture taken from https://www.foodiebaker.com/day-4-iceland-travelogue/
Summary
Distance from car park: 5-7 minutes from both car parks (in camp and before camp)
Time spent at: 20-40 minutes
Worth visiting even with bad weather: yes
Physical condition needed: little to medium
Interesting index: 1 – amazing (1-amazing, 2-great, 3-nice)
Landmannalaugar hot spring (sometimes also called Brennisteinsalda hot spring) is the only hot spring suitable for bathing in the main Landmannalaugar area.
How to get to Landmannalaugar hot spring
You need a proper 4wd car to reach Landmannalaugar and Brennisteinsalda hot spring. However, there’s a huge difference whether you come from the northern side of F208 or southern side.
Read more about these different routes in our F-road guide. Read also about how we chose our car, as this is essential for your Icelandic trip. Or just get free discounts for your Icelandic car rental.
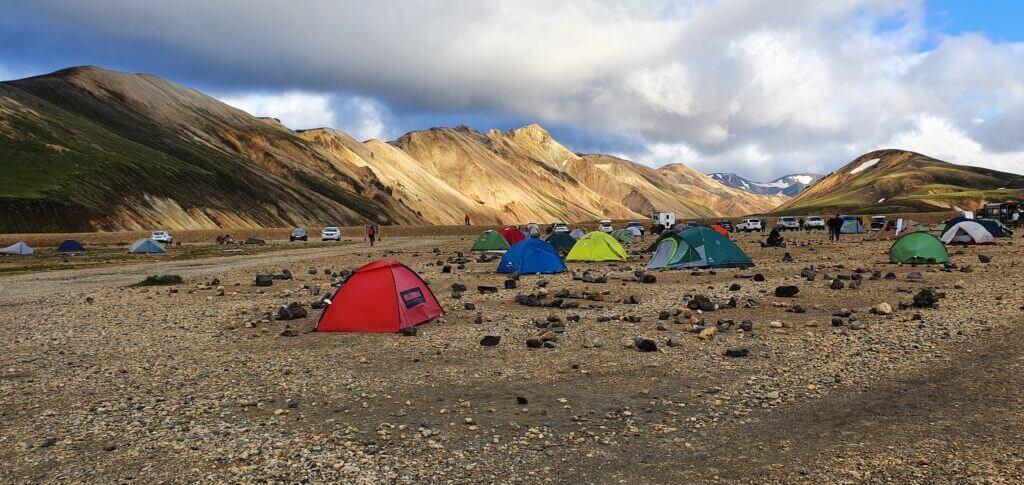
Landmannalaugar Brennisteinsalda campsite on the summer evening
Our experience with Landmannalaugar hot spring
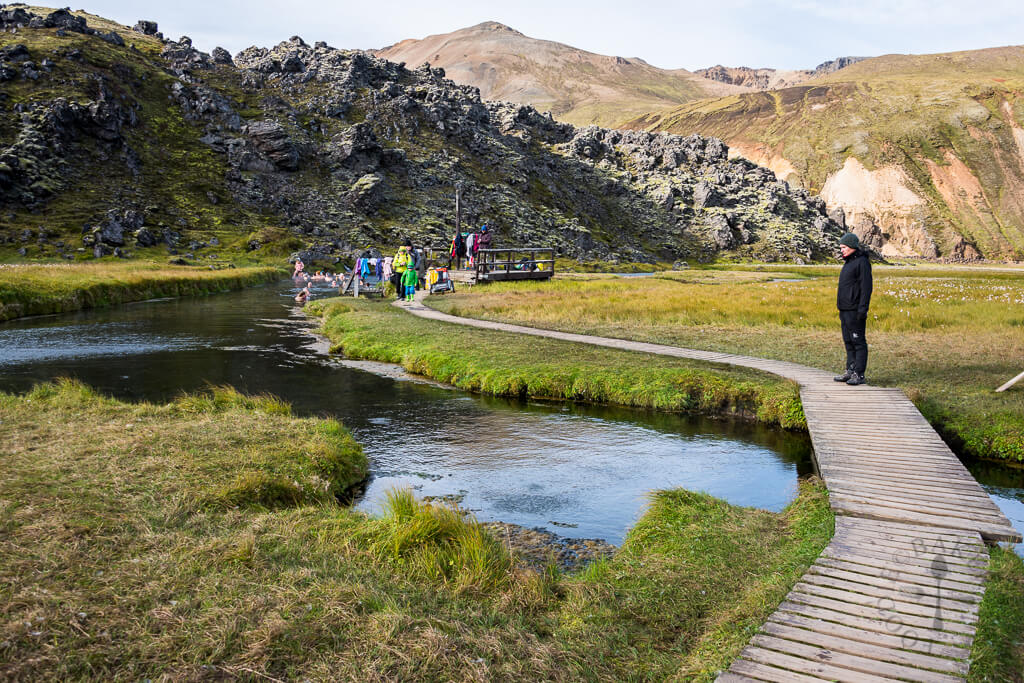
Landmannalaugar hot spring is the only real natural hot spring (without any human interference) we’ve seen in Iceland so it’s definitely worth trying. It’s basically a stream of some really hot water (>50°C) flowing into the small river and you may bath in this river.
The river actually isn’t so hot, maybe around some 26-30°C which doesn’t feel so fantastic when it’s like 5-10°C outside. But the more you approach the actual hot stream, the warmer it gets. The warmest place is, of course, just near the place where the stream flows into the water. This is the place you want to aim for (but so will all your fellow co-campers). You will probably have to wait some time in a queue to get to that source. There’s also another smaller stream a few meters to the right, so these 2 streams flowing into the river are the hottest spots.
Tips about Landmannalaugar hot spring
The hot spring is free to use. There’s no place to change your clothes, just a wooden structure to put leave your clothes on, which also serves as an entrance to the hot river.
The river is also really shallow, only some 40-70cm deep, so you basically have to lie in it to be covered by water. Nevertheless, it’s definitely worth the experience and it’s a really cool thing to try as Brennisteinsalda hotpot is one of the very few “wild” hot springs not artificially modified by locals.
5. HORGSHLIDARLAUG

Hörgshliðarlaug hot spring in the heart of fjord
Summary
Distance from car park: 2 minutes
Time spent at: 10-30 minutes
Worth visiting even with bad weather: yes
Physical condition needed: little
Interesting index: 2 – great (1-amazing, 2-great, 3-nice)
Hörgshliðarlaug is a nice remote hot spring hidden in one of the fjords in the northern part of Westfjords.
How to get to Horgshlidarlaug
In summer, Hörgshliðarlaug is accessible by any 2wd car. Read about how we chose our car. Or just get free discounts for your Icelandic car rental.
Not only tough to pronounce, but also tough to find, that’s Horgshlidarlaug. At the time of our visit, the road 633 was closed, so we had to use northern part of the road 61 and make a detour south (left) right before crossing the Mjóifjörður fjord.

Once we arrived at the point indicated on Google Maps, there were just a few rural settlements with old houses next to them and we didn’t see any hot pot. At one of the settlements, we spotted an old bath-tub, with the big sign “PRIVATE PROPERTY”. Hmm, maybe this is Hörgshliðarlaug? I stepped out of the car and headed towards the bath-tub. On a halfway there a local guy stopped me with a huge smile on his face. I asked whether this is Horgshlidarlaug and he just casually replied that this is his house and the hot spring is another 2 kilometres down the road. I guess we were not the first, nor the last tourists sneaking around his courtyard.
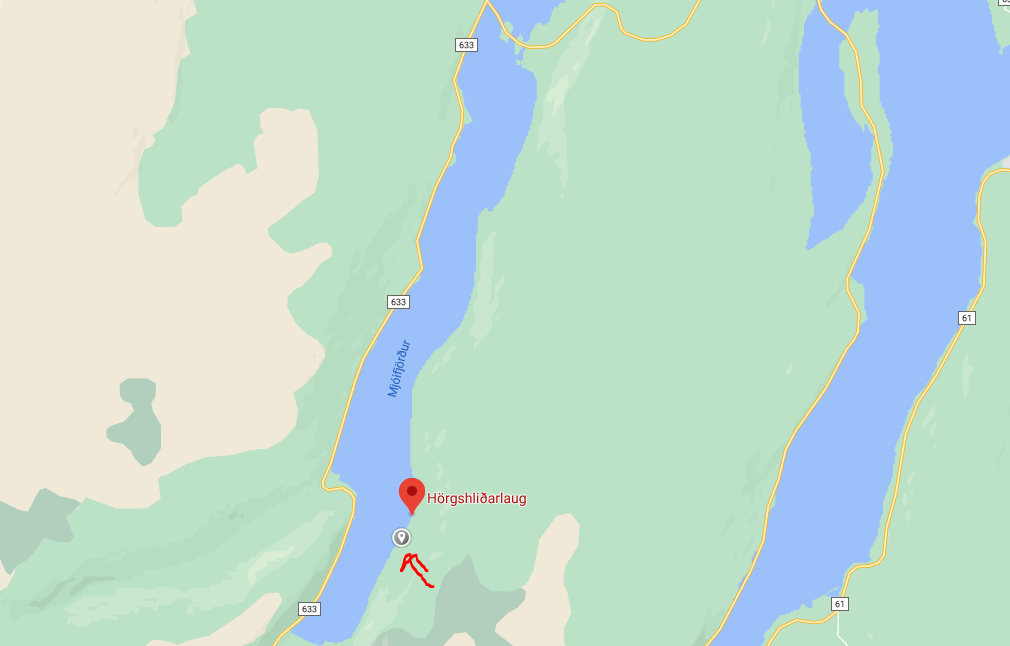
The actual hot spring Hörgshliðarlaug is 2 kilometres south from the spot indicated by Google Maps
Nevertheless, the guy was right (of course). So, in case it will not be corrected yet on Google Maps (and you couldn’t see any hot spring), just continue 2 kilometres south down the road. You will definitely see it on your right (when coming from the north) or on the left (when coming from the south). There’s no real car park, you have to stop next to the road (but there’s a wider part of the road near hot spring).
Our experience with Horgshlidarlaug
Horgshlidarlaug is a dirty, old, full of seaweed hot spring with true Icelandic atmosphere. It lies right in the heart of the fjord, so you will be able to watch the fjord while soaking in the hot pot. If you are lucky enough, there may even be seals around (we haven’t seen any though).
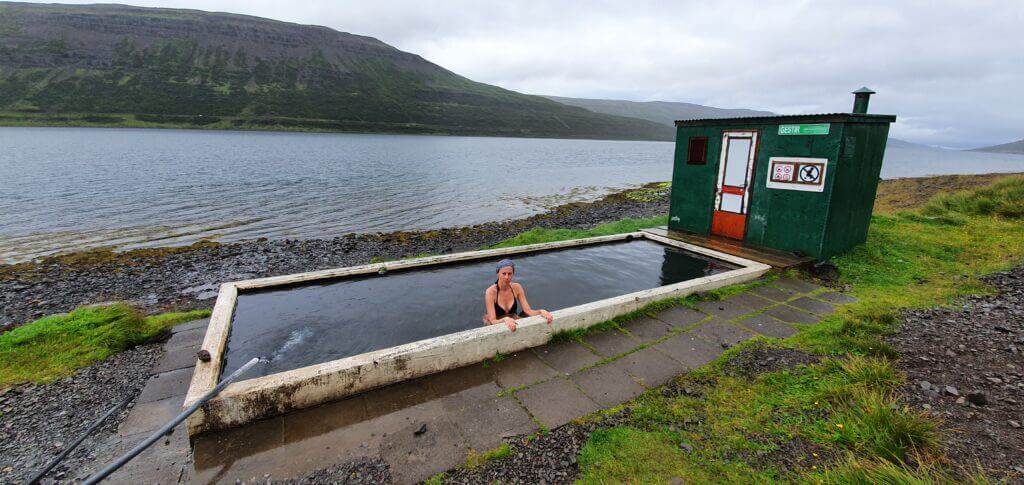
Horgshlidarlaug hotpot and a changing room
At the time of our visit, there were 2 groups of tourists already bathing in the hot spring. Hence, we waited 10 minutes, and afterwards, the hot spring became empty. Hörgshliðarlaug is definitely an original and picturesque place, nevertheless, we liked some other (see below) hot springs even more.
Tips about Horgshlidarlaug
There’s an old shelter next to the hot spring, which serves as a changing room. If you are into “sauna style” bathing, you may even alternate between bathing in the hot spring and bathing in the ice-cold sea. Water in the hot spring is very pleasant though, having some 36°C (according to my professional, read as „guessed“, assessment).
Hot spring is free to use, I don’t remember a donation box next to it, but there may have been one.
4. HELLULAUG
Hellulaug hot spring
Summary
Distance from car park: 2-3 minutes
Time spent at: 15-45 minutes
Worth visiting even with bad weather: yes
Physical condition needed: little
Interesting index: 1 – amazing (1-amazing, 2-great, 3-nice)
Hellulaug is a nice hot spring situated in one of the fjords in the southern part of Westfjords.
How to get to Hellulaug
In summer, Hellulaug is accessible by any 2wd car. Read about how we chose our car. Or just get free discounts for your Icelandic car rental.
You can get to Hellulaug from the main road 60. Just be sure to finally turn on Hellulaugavegur and end up here, because there’s one other (wrong) spot on Google maps. You will leave your car at a small, gravel parking lot. From there you have to descent about 1 minute to reach the pool itself.

Hellulaug hotpot
Our experience with Hellulaug
At the time of our visit, it had already started to rain. We changed our clothes inside our car and virtually ran in the rain towards the pool. There were two local girls (this time without cocaine) already bathing there (didn’t seem to leave any time soon).
The entire bathing experience was very nice. The water was pleasantly hot, but not too hot (some 34-36°C). It felt really comfortable to soak in the pool, while the rain poured down. Additionally, view from the hot spring is very nice, because of its location in the fjord. So you’re basically sitting in the hot spring looking at the fjord.
Tips about Hellulaug
Hellulaug is situated right in the heart of the fjord and it’s a man-made hotpot (water is being brought there by a pump). There’s no changing room, nor any shelter, but the hot spring is free of charge.
Well, if it rains, since there’s no shelter, some of your things will probably get wet, unless you cover them with something. We didn’t mind, though, because Hellulaug was probably the last stop of our trip.
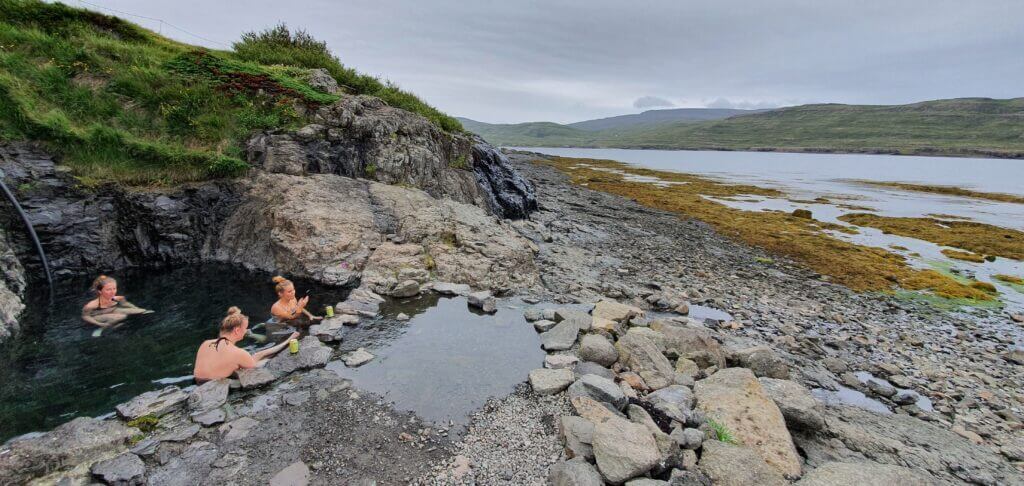
3. KROSSNESLAUG
Krossneslaug
Summary
Distance from car park: 5 minutes
Time spent at: 30-60 minutes
Worth visiting even with bad weather: yes
Physical condition needed: little
Interesting index: 1 – amazing (1-amazing, 2-great, 3-nice)
Krossneslaug is a really unique, one-of-its-kind hot spring literally at the end of the world (or at least all Icelandic roads).
How to get to Krossneslaug
Although officially any 2wd car is allowed in here, I do recommend a 4wd car and some guts to reach Krossneslaug. Road 643 heading towards Krossneslaug could easily be classified as an Icelandic F-road. It doesn’t contain any river crossings but it contains almost everything else an F-road may contain. Potholes, gravel, narrow passages, steep parts, driving on the edge of the cliffs, …
Read about how we chose our car. Or just get free discounts for your Icelandic car rental.

Google Maps mark Krossneslaug quite precisely. They just don’t show that the “car park” (or better said the place next to the road where you may leave your car) is tens of meters above the pool. That means, you have to leave your car up, next to the road and you have to walk down the path to Krossneslaug itself. Only the owner of the pool has an access to reach the pool by car.
Our experience with Krossneslaug
Bathing in Krossneslaug is again a once in a lifetime experience. It definitely belongs to Top 3 of our Icelandic hot springs. When we arrived, there was no one else in the pool, only the owner performing maintenance of the place.
Views from Krossneslaug
Once in the pool, you will again feel like being in some kind of fairy tale. Just you, hot pool and view of the endless sea. The smaller, hotter bathtub even has a windshield (I guess for cases of severe weather?).
Before our departure, I asked the owner whether it does make economical sense to maintain such a pool at the end of the world. He just smiled and replied that from June till 1st half of August usually hundreds of people come per day. Even during Covid times, just their structure changed to more locals. OK, that surprised me, I guess it makes sense then.

Tips about Krossneslaug
Krossneslaug is a paid (1000ISK, i.e. 6-7Eur/person), man-made, hot water pool, utilising nearby hot spring water. It has a long history (1954) and 2 pools available for bathing. The bigger, rectangular pool with a water temperature of around 34°C and a smaller, more modern hot tub with a temperature of around 38°C. It is well maintained by the owner of the place, who also resides there usually from June until August each year. The entrance fee includes a changing room, toilets and showers, of course.
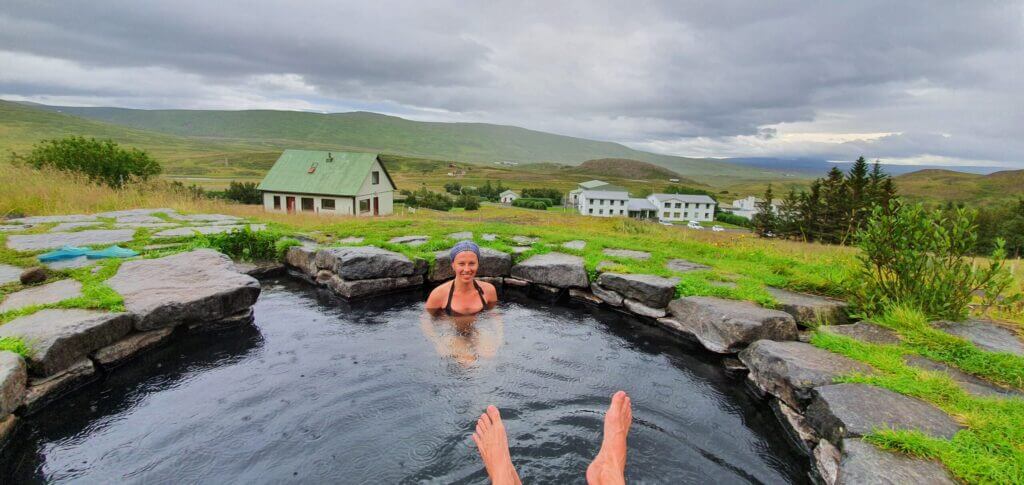
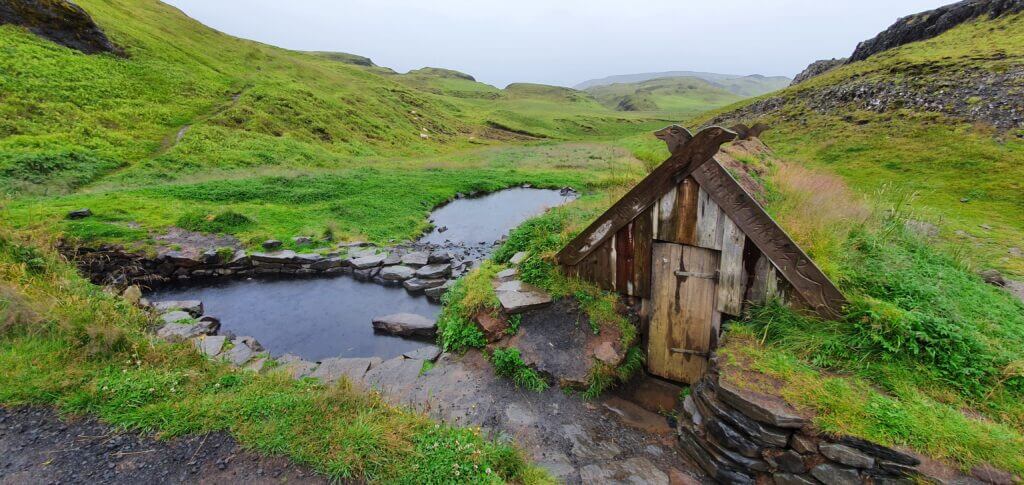
2. GUDRUNARLAUG
Shelter for changing clothes and Gudrunarlaug hot spring
Summary
Distance from car park: 5 minutes
Time spent at: 30-60 minutes
Worth visiting even with bad weather: yes
Physical condition needed: little
Interesting index: 1 – amazing (1-amazing, 2-great, 3-nice)
Guðrúnarlaug is one of the most picturesque hot springs in Iceland. It’s very well accessible.
How to get to Gudrunarlaug
In summer, Guðrúnarlaug is easily accessible by any 2wd car. Read about how we chose our car. Or just get free discounts for your Icelandic car rental.
Our experience with Gudrunarlaug
When we arrived at the parking lot, we saw just one couple bathing in the hot spring. We were already spoiled by travelling during Covid pandemic, in the sense that we had been alone at every other place we had visited. So, we decided to wait a bit once the couple finishes its bathing, which took about 5 minutes.
Yep, once again, we were alone in Icelandic hot spring, in August at 4 pm. The rain had already been pouring when we got out of our car. We really enjoyed Gudrunarlaug bathing, even despite (or thanks to?) rain getting heavier. The place with its surroundings is pretty cool and the water is pleasantly hot (some 36-38°C). Definitely worth visiting. It was one of the best hot springs we’ve bathed in.
Neighborhood of the Guðrúnarlaug hot spring
Tips about Gudrunarlaug
Guðrúnarlaug is definitely a bit more touristy compared to, for example, Lýsuhólslaug. The reason for that is its proximity to ring road and to Westfjords, i.e., it’s quite easily accessible. The same is true when it comes to access to the actual hot tube – it’s a 2-minute walk from the car park, which sits right next to it. Google Maps are also quite precise about the location of Gudrunarlaug, so feel free to orientate according to them.
Guðrúnarlaug is located next to the small rural campsite (we didn’t see anyone camping at the time of our visit, during Covid-19 times) and something which looked like a school. There’s an authentic wooden shelter (similar to the one next to Hrunalaug) serving as a changing room, right next to the pool. Hot spring is free to use, I don’t remember a donation box next to it, but there may have been one.
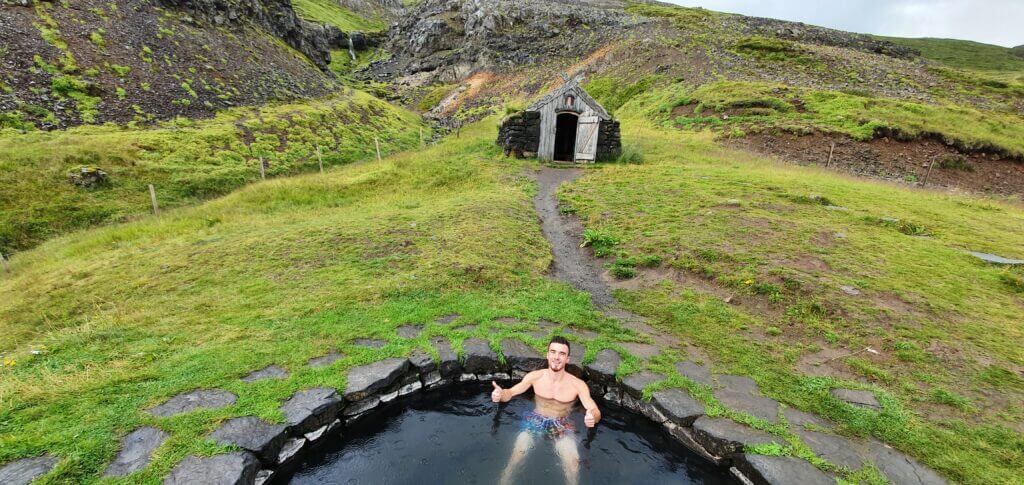
1. HRUNALAUG
Tranquil scenery of Hruni hot spring
Summary
Distance from car park: 5 minutes
Time spent at: 20-60 minutes
Worth visiting even with bad weather: yes, definitely
Physical condition needed: little
Interesting index: 1 – amazing (1-amazing, 2-great, 3-nice)
How to get to Hrunalaug
Hrunalaug (or Hruni) is easily accessible by any 2wd car. Read about how we chose our car. Or just get free discounts for your Icelandic car rental.
Use Google maps. They were quite precise about the location. There’s actually a car park (see attached picture) near the hot spring. From the “car park” it’s about 3 minutes of walk. You shouldn’t get lost, as far as I can remember there’s even a sign pointing towards hot spring.
Hrunalaug “car park”
Our experience with Hrunalaug
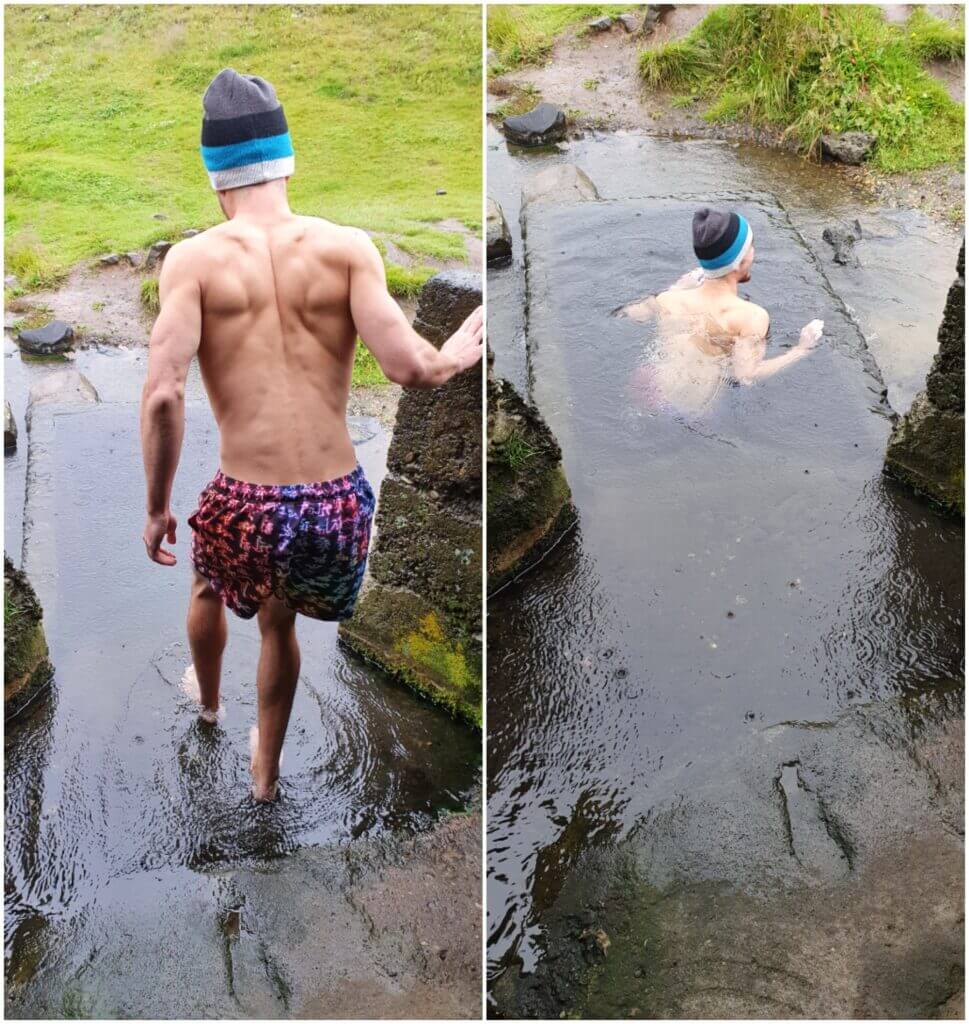
I can confidently nominate Hruni hot spring for winning the award of most authentic Icelandic hot spring. It is, without doubt, the best hot spring we’ve ever been to. Thanks to many aspects. Firstly, it’s a place secluded from anything else with no buildings or roads around. Secondly, the landscape surrounding it is truly peaceful and picturesque. Thirdly, the hot pot itself looks like to be from some kind of fairy-tale. And, importantly, the water (in the main one) is pleasantly hot with some 38°C according to my professional (read amateur) assessment.
Once we got in, we really got carried away by the surrounding atmosphere. Just a slowly pouring rain, few sheep, endless grass and besides that just silence. Everything was tranquil, only until the new guest arrived at the hot spring. If you are into stories, feel free to read ours about meeting a naked Icelandic teenager possibly under drugs.
The main and the hottest hot spring in Hrunalaug
Tips about Hrunalaug
Once you arrive at the hot pot itself, you will realize there’s also a covered shelter for changing clothes! A very authentic one 🙂 The entire place is maintained by locals and as of 2024 has changed into a paid hot spring with opening hours. More info on Hrunalaug entrances here.
There are actually several pools, some of them smaller, some of them bigger. All pools do contain a heated water, but each one has different temperature. The hottest one is also the smallest and is the one right next to the shelter. It’s ideal for 2 people, and if you are OK with some squeezing even for 4.
![]() ask questions or get inspired in our community
ask questions or get inspired in our community